


How to Install a Beer Cooler in Your Home Bar (Step-by-Step Guide)
Setting up a draught system at home is easier than many people think. With the right beer cooler, gas setup and line routing, you can pour crisp, pub-quality pints from your own bar.
This guide walks you through the key steps to installing a beer cooler in your home bar, from positioning and gas connection to line routing, temperature settings and cleaning.
What You Need Before Installing a Beer Cooler
Before you start, make sure you have the core components for a basic draught system:
- Beer cooler (e.g. Lindr Pygmy 25, Lindr CWP 100, Lindr AS-80)
- Gas regulator (CO₂ or mixed gas – see your gas choice article)
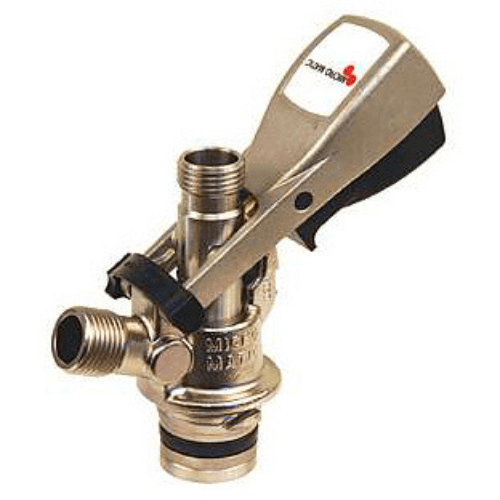
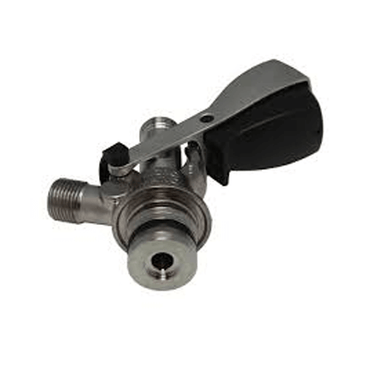
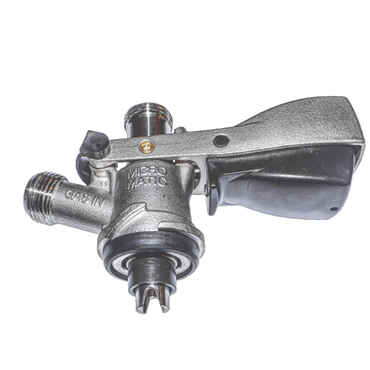
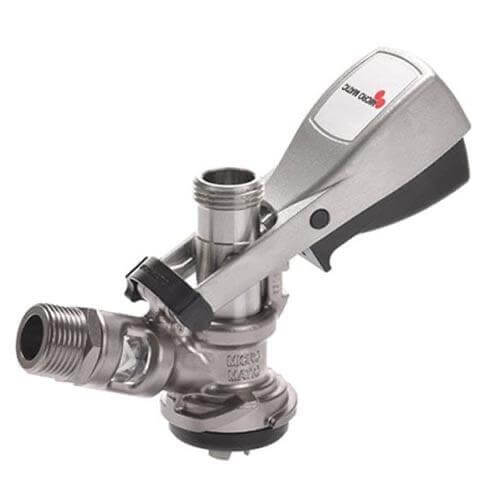
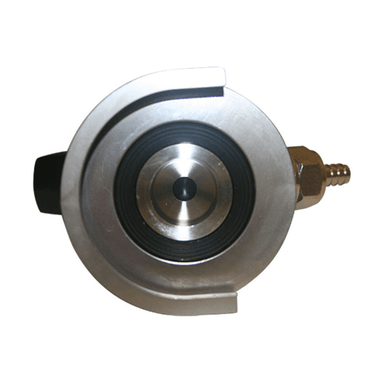
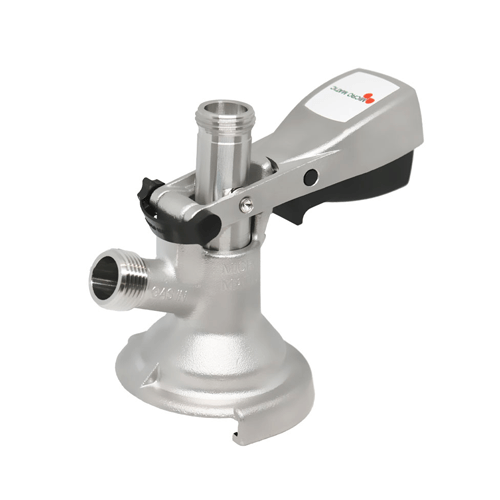
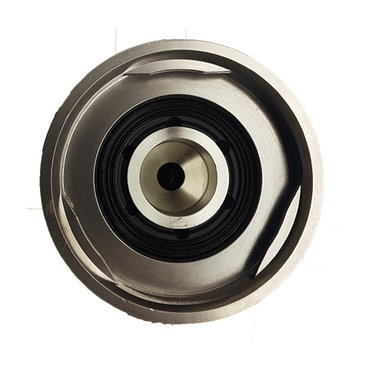
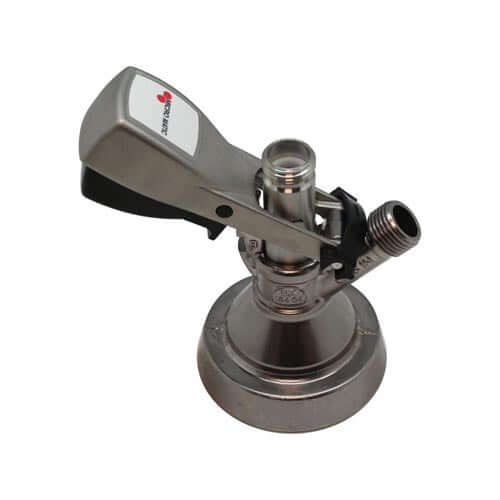
- Keg coupler (S-type or other, depending on the keg)
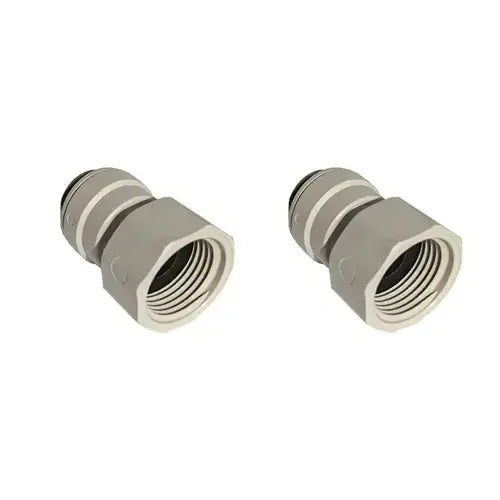
- Beer and gas lines
- Tap tower / font and drip tray
- Line cleaning bottle and cleaning solution
Step 1: Choose the Right Location
Your beer cooler needs a spot that is:
- Well-ventilated
- Dry and stable
- Close to a power socket
- Reasonably close to the keg and tap
Good Locations
- Under-counter cabinet with ventilation
- Back bar or under-bar space
- Utility room or cupboard with airflow
- Insulated garden bar or shed (protected from extremes)
Step 2: Position Your Beer Cooler
Place the cooler on a stable, level surface with at least 10 cm of space around the sides and rear for ventilation.
Countertop Coolers (e.g. Lindr Pygmy 25)
- Ideal for smaller or portable setups
- Sit on the bar or a nearby counter
- Keep vents clear and unobstructed
Under-Counter Coolers (e.g. Lindr CWP 100, AS-80)
- Mount in under-counter space or a ventilated cupboard
- Leave gaps for hot air to escape
- Plan line runs to the tap and keg before fixing
Step 3: Connect Your Gas System
Correct gas setup is critical for both safety and pour quality.
- Secure your gas cylinder safely in an upright position.
- Attach the appropriate gas regulator (CO₂ or mixed gas) to the cylinder.
- Connect gas line from regulator outlet to the gas inlet on the keg coupler.
- Set initial pressure (often around 10–12 PSI for cold lagers and ciders, lower if kegs are warm).
- Tighten all hose clips and check for leaks.
Step 4: Connect Your Beer Lines
With gas in place, you can now run your beer lines through the cooler and up to the tap.
- Connect the beer line from the keg coupler outlet to the beer inlet on the cooler.
- Connect the outlet line from the cooler to your tap tower or font.
- Use suitable beer line diameter (as specified for your system).
- Keep lines as short and direct as possible to reduce temperature loss and turbulence.
Step 5: Set the Temperature
Most beers pour best between 2–4°C:
- Lagers and ciders prefer the colder end (around 2–3°C).
- Ales and stouts can be slightly warmer while still chilled.
Use the cooler’s control (dial or digital) to set the desired temperature, then allow it to stabilise.
Step 6: Test the Pour
Once the cooler has had time to chill, test the system with a few pours:
- Check that beer is coming out cold and clear.
- Observe how much foam you get – adjust gas pressure if necessary.
- Make sure there are no leaks at couplers, regulators or line joints.
Step 7: Clean and Maintain Your System
Regular cleaning is essential for taste, hygiene and reduced foaming.
- Clean your beer lines every 1–2 weeks using a cleaning bottle and proper line cleaner.
- Flush with clean water after each clean cycle.
- Inspect seals, couplers and lines regularly for wear or damage.
View Cleaning Bottles & Sanitation
Recommended Beer Coolers for Easy Home Installation
Lindr Pygmy 25 – Best Countertop Option
Perfect for garages, garden bars and smaller setups where you want portability and simple installation.
Lindr CWP 100 – Best Under-Counter Option
Compact, powerful and designed to sit under your bar for a clean, professional finish.
Lindr AS-80 – Best for Frequent Entertainers
Ideal for larger home bars, garden pubs and multi-tap systems that see regular use.
FAQ: Installing a Beer Cooler at Home
Where should I install a beer cooler in my home bar?
Install your beer cooler in a ventilated area such as an under-counter cabinet with airflow, a back bar space or a utility room. Avoid sealed cupboards with no ventilation.
What gas pressure should I use?
Many systems run well at around 10–12 PSI for chilled lagers and ciders, though warm kegs may need lower pressure. Always use the correct regulator for your gas type.
How often should I clean my beer lines?
Clean lines every 1–2 weeks using a proper beer line cleaner. This keeps your beer tasting fresh and helps prevent foaming issues.

